
Santa brought her a Singer 1507 sewing machine for Christmas. It was the one thing she asked for, so I was very relieved that he got it right. She's had a ball with it. Although she's used my machine a few times, we started with the basics. I let her get used to the petal on her new machine first. We did this without threading the machine. She ran the pedal with her foot, hands under her bottom, until she was able to start slowly and maintain a steady rhythm. Then we put thread in the machine and worked on stopping, starting, and following lines drawn on paper (straight, curvy, and angles.) It was worth the time at the front end to explain some use and care of the machine, along with the mini tutorials. We talked about the fact that everybody has to practice if they want to get better at something. I think that's such an important insight for kids, so I slip it in whenever I can. (Once in a while, I get some eye rolling from them, but I think they appreciate the reminder!)
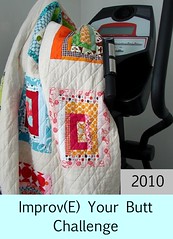
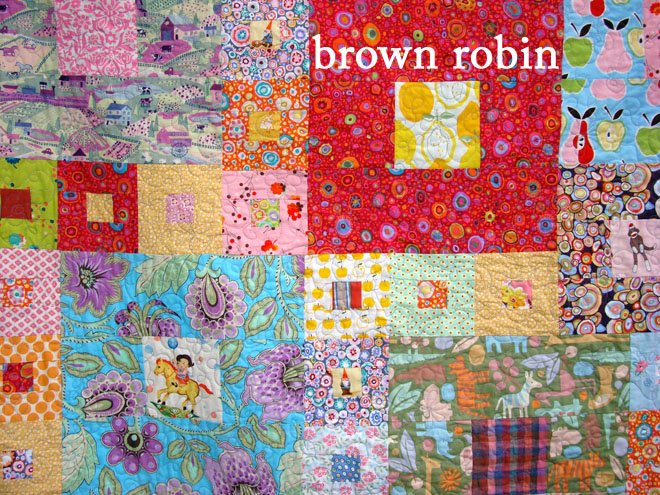
Next, she moved onto making fairy quilts. She pieced blocks of fabrics, designing her layout beforehand. She created the entire mini quilt, start to finish, and was so thrilled. She made about ten more. The part that absolutely awed me was how she went about quilting each one. I was actually a bit nervous at first. She ran the machine like she was running a race; she looked more than a bit like a mad artist. I stopped myself from saying anything about needles and fingers, and just watched. I realized that she was essentially free motion quilting, just like she's seen her mom do so many times. The even more extraordinary thing (which will only mean something to you if you sew) is that she never dropped the feed dog, AND her stitches looked great! Hmmmm. If only I sewed as well as her when I was seven.
 (Another one of her quilts, a felt bird that she made, and the pincushion I made for her to use with her first machine.)


 I tried to take pictures of it for you, in case you feel inspired to make your own. Unfortunately, the pictures just don't do it justice. However, each is constructed on a wood pedestal, and each can be moved around so the configuration of the group can change. It is all coated in shellac, which is a fascinating natural substance made from bugs, worth reading up on in all your spare time.
 He wired all of the Mountain Laurel branches with bonsai wire. The Laurel is cut live from our property. It should hopefully dry well, strengthened by the wire .
 He also made tables, chairs, and beds out of wood rounds and Laurel. Each is carefully pieced, glued, and coated in shellac . (Below is a dog sled out of paddling foam, they made together on another occasion. I'm telling you, he gets little girls' imaginary worlds.)


 Cut the wax upper left corner to lower right corner, making a triangle like the pic above. Do this with both colors of wax sheet. You will be able to make 2 candles total.

 Now, you will lay the appropriate length of wick at the far left side of the candle. Use your hair dryer to heat up the wax. You can't hurt the wax. Just experiment with intensity of heat so that you achieve pliability. I use low heat when working with my kids, but high heat when I'm doing it myself. When your candle is mailable, start rolling.
  Once we get it going, I turn the candle toward the child so that they can roll TOWARD their body (rather than left to right.) My seven year old is good to go on her own. My four year old needs a little assistance with keeping the end of the candle flush. You'll see... and you'll quickly get the hang of it.
 These are spectacularly easy and so much fun to make. Even if you don't have kids, it's just a wonderful craft that yields beautiful results. Need some inexpensive gifts? Give it a try. My guess is that you won't be disappointed.

 I got kind of inspired by all that red. I took out a needle and thread.... and got busy.