This is my version of a tutorial for bees' wax sheet candles to create a two tone spiral candle. We ordered our wax from Brushy Mountain Bee Farm. This is where we get all of our beekeeping supplies. They are a wonderful North Carolina small business with excellent customer support. If you're local and want to make these tomorrow, you can also visit the Earth Guild in Asheville.
Ingredient list:
1) bees wax sheets (2 different colors for this craft)
2) wick, enough yardage to make the number of candles (1 yd for @ 3 candles is my guess,but don't trust my math. It depends on how tall your sheets of wax are.)
3) hair dryer (a necessity, so borrow one if you don't have one.)
Here we go....
 Cut the wax upper left corner to lower right corner, making a triangle like the pic above. Do this with both colors of wax sheet. You will be able to make 2 candles total.
Layer the two colors of wax sheet like the pic above. The other two sheets of wax are sitting to the side ready to use for the next candle.

Tear a small corner from the top sheet bottom left corner (look closely at the white wax.) Use your hair dryer to warm the wax up, making it tear smoothly. You will use this bit of wax to prime your wick. Again, a little blast from the hairdryer will help to mold it right around the end of the wick. It should look like the pic below.
 Now, you will lay the appropriate length of wick at the far left side of the candle. Use your hair dryer to heat up the wax. You can't hurt the wax. Just experiment with intensity of heat so that you achieve pliability. I use low heat when working with my kids, but high heat when I'm doing it myself. When your candle is mailable, start rolling.
  Once we get it going, I turn the candle toward the child so that they can roll TOWARD their body (rather than left to right.) My seven year old is good to go on her own. My four year old needs a little assistance with keeping the end of the candle flush. You'll see... and you'll quickly get the hang of it.
 These are spectacularly easy and so much fun to make. Even if you don't have kids, it's just a wonderful craft that yields beautiful results. Need some inexpensive gifts? Give it a try. My guess is that you won't be disappointed.


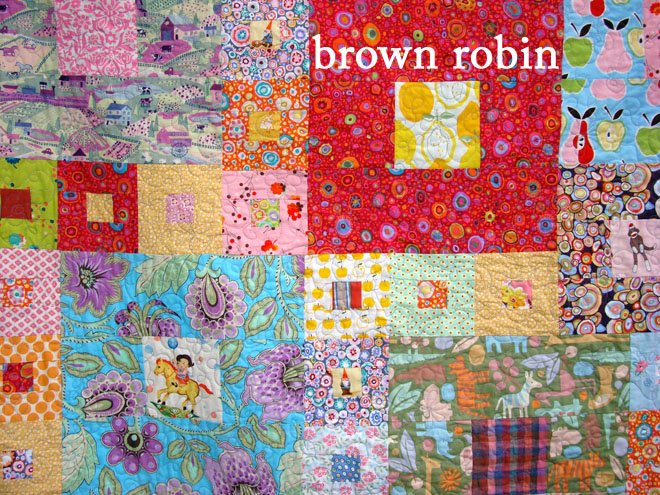
 I got kind of inspired by all that red. I took out a needle and thread.... and got busy.